Bread Bowls
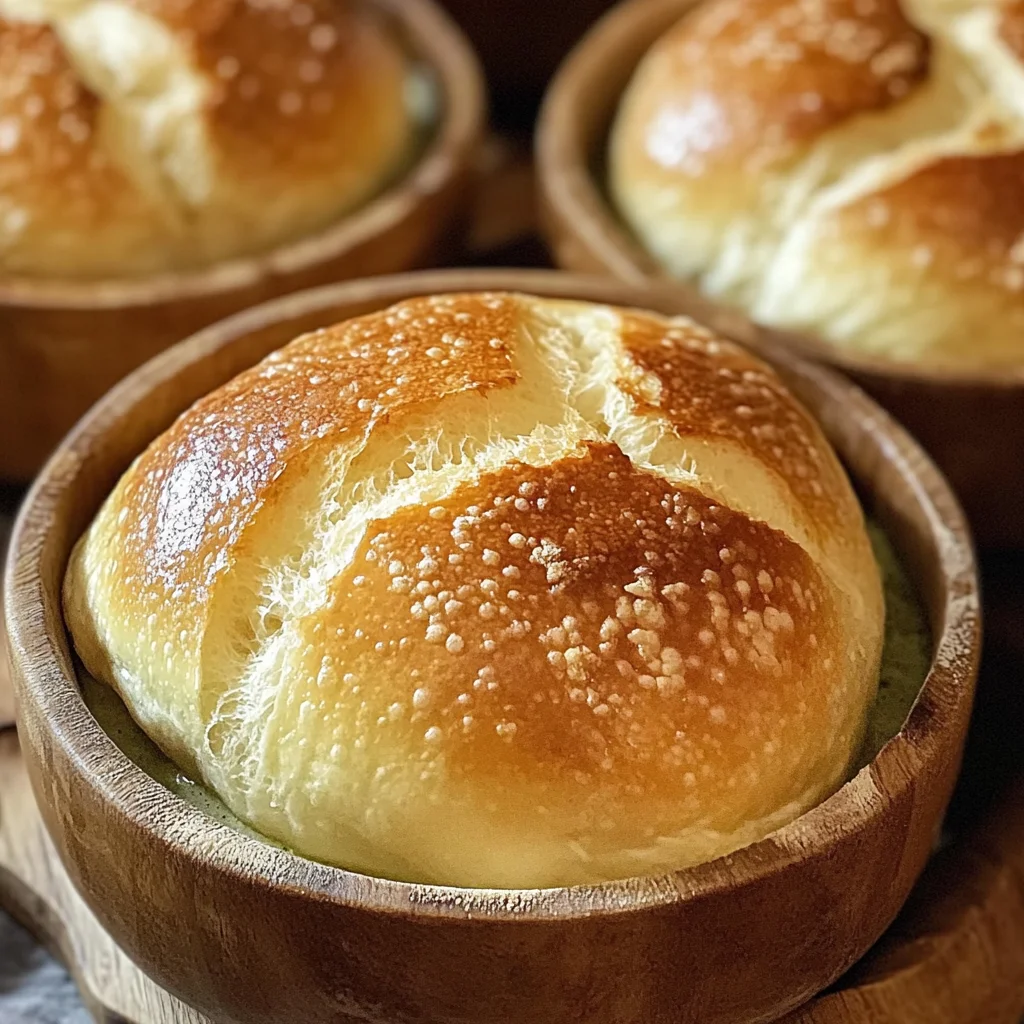
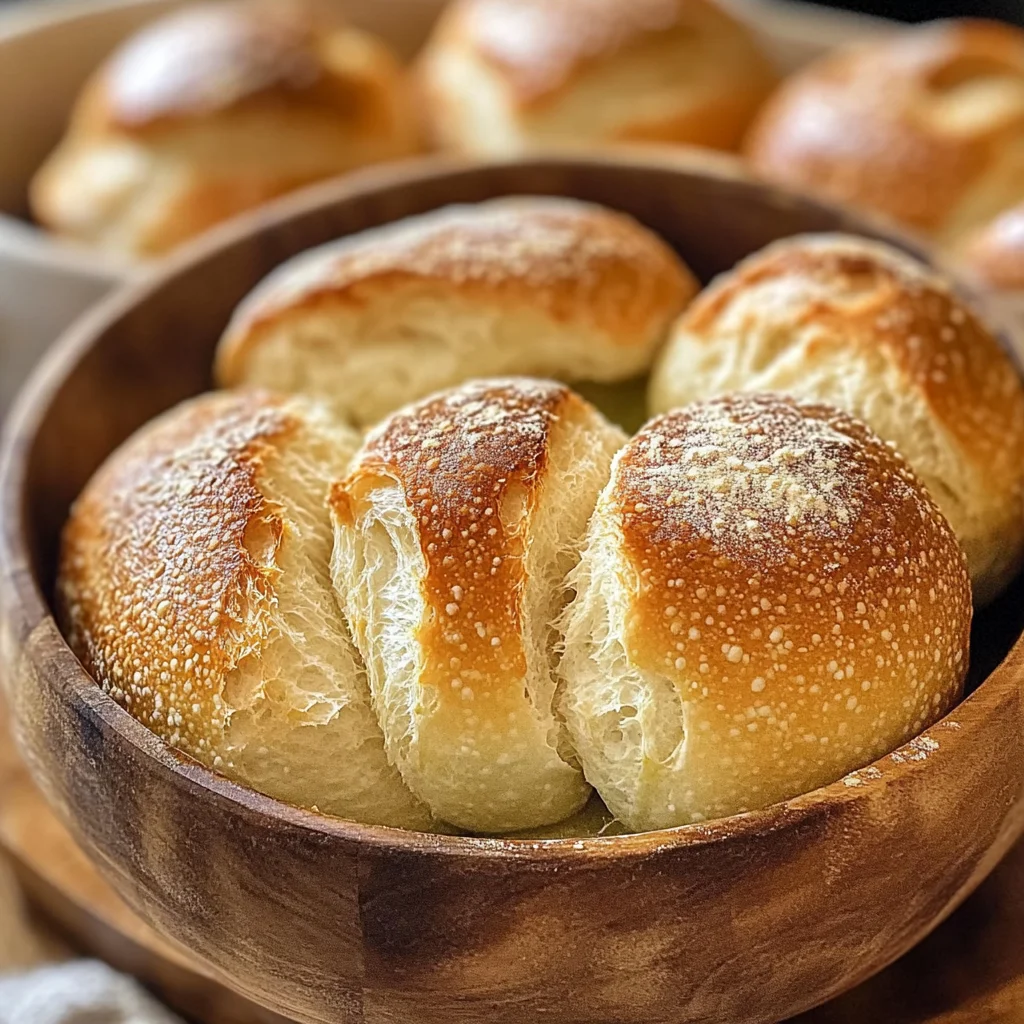
Homemade bread bowls bring a delightful twist to mealtime, especially when filled with your favorite soups. Their chewy texture and crusty exterior make them an ideal vessel for hearty dishes. These versatile bread bowls are perfect for family gatherings, cozy dinners, or casual get-togethers. You will love how easy it is to create a stunning centerpiece that also satisfies hunger!
Why You’ll Love This Recipe
- Delicious Flavor – The combination of whole wheat and bread flour gives these bowls a unique taste that enhances any soup.
- Versatile Serving Option – Use these bread bowls for various soups or even salads for an exciting presentation.
- Simple Ingredients – With everyday pantry staples, you can whip up these bowls without fuss.
- Impressive Presentation – Serve your dishes in homemade bowls that not only look great but also add a rustic touch to your table.
- Customizable Size – Adjust the size of the bowls according to your needs; they can be made smaller for appetizers or larger for main courses.
Tools and Preparation
Preparing homemade bread bowls requires just a few essential tools. Having the right equipment will make the process smoother and more enjoyable.
Essential Tools and Equipment
- Stand mixer or mixing bowl
- Dough scraper
- Baking sheet
- Parchment paper
- Sharp knife or bread lame
Importance of Each Tool
- Stand mixer or mixing bowl – A stand mixer makes kneading easy, while a bowl allows for manual mixing if preferred.
- Dough scraper – This tool helps shape the dough and divide it cleanly without sticking.
- Baking sheet – A sturdy baking sheet ensures even baking for your bread bowls.
Ingredients
Homemade bread bowls with chewy texture and crusty exterior. Perfect for serving soups.
For the Dough
- 2 1/4 cups milk, warmed
- 1 tablespoon instant yeast
- 1 tablespoon sugar
- 1 tablespoon olive oil
- 1 tablespoon salt
- 1/2 cup whole wheat flour
- 4 1/2 cups bread flour
How to Make Bread Bowls
Step 1: Combine Wet Ingredients
Begin by combining the warm milk, instant yeast, and sugar in a large mixing bowl. Allow this mixture to foam for about 5-10 minutes, indicating that the yeast is active.
Step 2: Mix Dough
Add the olive oil, salt, and both flours to the foamed mixture. Knead the dough for about 8 minutes until smooth and elastic.
Step 3: First Rise
Place the kneaded dough in a lightly oiled bowl. Cover it with a clean kitchen towel or plastic wrap. Let it rise in a warm place for 1.5 hours until it doubles in size. For enhanced flavor, consider refrigerating the dough overnight (8-24 hours).
Step 4: Shape the Bowls
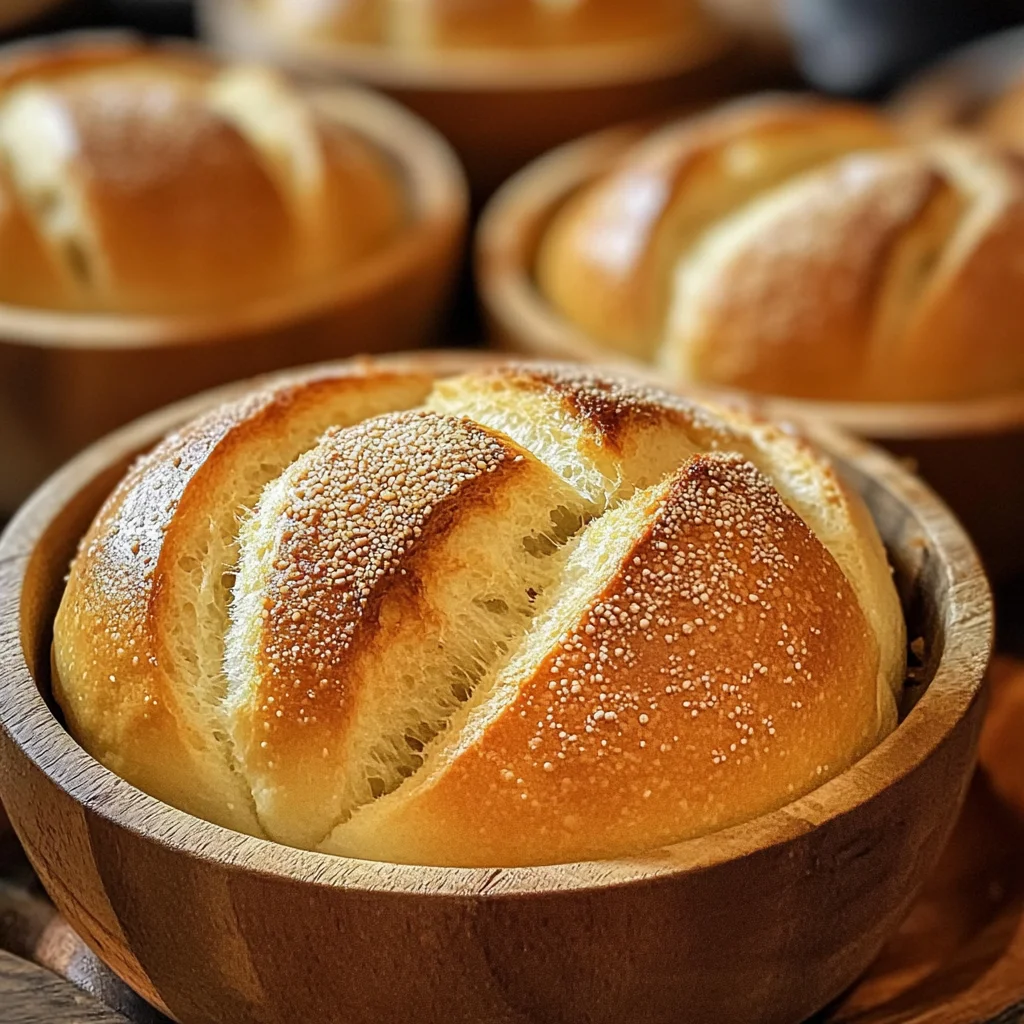
Once risen, turn out the dough onto a floured surface. Cut it into 6 equal pieces and shape each piece into a tight ball. Place them on a baking sheet lined with parchment paper. Cover again and let them rise for another hour.
Step 5: Prepare Oven
Preheat your oven to 425°F (220°C). While preheating, use a sharp knife to score an “X” on top of each ball to allow steam to escape during baking.
Step 6: Bake
Add ice cubes to a baking dish at the bottom of the oven before placing your baking sheet inside. Bake for 25-28 minutes or until golden brown on top.
Enjoy your delicious homemade bread bowls, perfect for serving soups!
How to Serve Bread Bowls
Serving bread bowls can be a delightful experience, especially when you pair them with the right fillings and sides. These versatile bowls are perfect for any meal and can elevate your dining experience.
Soup Delights
- Chowder – Creamy and hearty, clam or corn chowder fills bread bowls wonderfully.
- Tomato Basil Soup – A classic pairing that enhances the freshness of the soup and the bread.
- Chicken Noodle Soup – Comforting and filling; perfect for chilly days.
Salads
- Caesar Salad – Crisp romaine inside a bread bowl makes for a fun twist on this classic dish.
- Greek Salad – The bright flavors of feta and olives complement the chewy texture of the bread.
- Pasta Salad – Cold pasta salad served in a bread bowl adds an interesting texture contrast.
Dips
- Spinach Artichoke Dip – Creamy, cheesy goodness that pairs perfectly with the crusty exterior of bread bowls.
- Hummus Platter – Serve hummus alongside veggies in a bread bowl for a healthy snack.
How to Perfect Bread Bowls
Perfecting your homemade bread bowls involves some key techniques to ensure they come out just right. Here are some tips to enhance your baking skills.
- Use Warm Milk – This helps activate the yeast effectively, leading to better rise and texture.
- Knead Well – Proper kneading develops gluten, giving your bread bowls that chewy texture.
- Allow for Longer Rising – A longer rise in the fridge improves flavor and structure.
- Score Tightly – Scoring allows steam to escape during baking, helping achieve that crispy crust.
- Add Steam While Baking – Adding ice to the oven creates steam, which helps rise and develop a nice crust.
Best Side Dishes for Bread Bowls
Pairing side dishes with your bread bowls can make for a more balanced meal. Here are some great options to consider.
- Garlic Bread – Toasted slices of garlic bread are perfect for dipping into soups.
- Roasted Vegetables – Colorful roasted veggies add nutrition and complement any filling.
- French Fries – Crispy fries on the side satisfy cravings while enhancing the meal’s heartiness.
- Coleslaw – A fresh coleslaw provides a crunchy contrast to warm fillings in your bread bowls.
- Fruit Salad – A light fruit salad offers a refreshing end to your meal.
- Cheese Platter – A selection of cheeses can be deliciously paired with any soup-filled bowl.
Common Mistakes to Avoid
Making bread bowls can be a fun task, but it’s easy to make mistakes. Here are some common pitfalls to watch out for.
- Ignoring yeast freshness: Using old or expired yeast can lead to flat bread bowls. Always check your yeast’s expiration date for the best results.
- Skipping kneading: Not kneading the dough enough leads to dense bread bowls. Knead for a full 8 minutes to develop gluten and achieve a chewy texture.
- Inadequate rising time: Rushing the rise can yield tough bread bowls. Allow the dough to double in size for optimal flavor and texture.
- Not scoring tops: Failing to score the tops can cause uneven baking. Make shallow cuts on top of each bowl before baking for a better rise and crust.
- Overcrowding the oven: Baking too many bowls at once may affect heat circulation. Bake in batches if necessary to ensure even cooking.
Storage & Reheating Instructions
Refrigerator Storage
- Store bread bowls in an airtight container.
- They will last up to 3 days in the refrigerator.
Freezing Bread Bowls
- Wrap each bowl tightly with plastic wrap or aluminum foil.
- Freeze them for up to 3 months for best quality.
Reheating Bread Bowls
- Oven: Preheat your oven to 350°F. Place bread bowls directly on the rack for about 10-15 minutes until warmed through.
- Microwave: Use a microwave-safe plate and heat on medium power in 20-second intervals until warm, ensuring not to overheat as they may become tough.
- Stovetop: Heat in a pan over low heat with a lid for about 5 minutes, checking frequently.
Frequently Asked Questions
Here are some commonly asked questions about making bread bowls.
Can I use whole wheat flour for Bread Bowls?
Yes, you can use whole wheat flour, but it may change the texture slightly. Aim for a mix of all-purpose and whole wheat flour for better results.
How do I make mini Bread Bowls?
To create mini versions, simply divide your dough into smaller pieces before shaping them into balls. Adjust baking time accordingly.
What soups pair well with Bread Bowls?
Bread bowls are perfect for creamy soups like chowders or chunky soups like vegetable or chili. They complement rich flavors beautifully.
Can I customize my Bread Bowls?
Absolutely! You can add herbs or spices to the dough, or sprinkle cheese on top before baking for extra flavor.
Final Thoughts
These homemade bread bowls are not only delightful but also versatile. Perfect for serving soups, they can be customized with spices or toppings to suit your taste. Give this recipe a try and enjoy the warm, comforting experience of digging into your favorite soup served in a delicious bowl!
Homemade Bread Bowls
Homemade bread bowls are a delightful addition to any mealtime, transforming your favorite soups into a visually stunning and tasty experience. With their chewy texture and crusty exterior, these versatile vessels not only hold warm, hearty fillings but also serve as an impressive centerpiece for family gatherings or casual get-togethers. This easy recipe allows you to create customizable bread bowls using simple pantry ingredients, making them perfect for any occasion.
- Prep Time: 20 minutes
- Cook Time: 28 minutes
- Total Time: 48 minutes
- Yield: Makes six bread bowls 1x
- Category: Dinner
- Method: Baking
- Cuisine: American
Ingredients
- 2 1/4 cups warm milk
- 1 tablespoon instant yeast
- 1 tablespoon sugar
- 1 tablespoon olive oil
- 1 tablespoon salt
- 1/2 cup whole wheat flour
- 4 1/2 cups bread flour
Instructions
- In a large mixing bowl, combine warm milk, instant yeast, and sugar. Let it foam for 5-10 minutes.
- Add olive oil, salt, and both flours. Knead the dough for about 8 minutes until smooth.
- Place the dough in an oiled bowl, cover, and let it rise for 1.5 hours or refrigerate overnight for enhanced flavor.
- Shape the risen dough into six equal balls and place them on a parchment-lined baking sheet. Allow them to rise again for an hour.
- Preheat your oven to 425°F (220°C) and score an “X” on each ball’s top.
- Bake for 25-28 minutes until golden brown.
Nutrition
- Serving Size: 1 bread bowl (approximately 150g)
- Calories: 360
- Sugar: 1g
- Sodium: 450mg
- Fat: 5g
- Saturated Fat: 0.5g
- Unsaturated Fat: 4g
- Trans Fat: 0g
- Carbohydrates: 70g
- Fiber: 3g
- Protein: 12g
- Cholesterol: 0mg