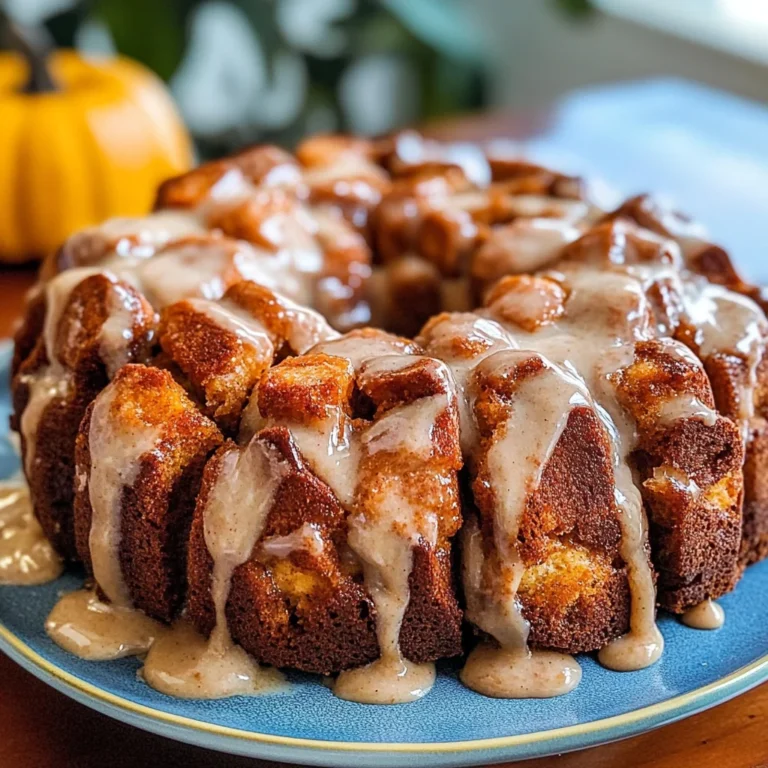
Oreo Dump Cake Recipe
This Oreo Dump Cake Recipe is the ultimate dessert for those who crave something sweet without the hassle. Perfect for parties, family gatherings, or just a cozy night in, this cake combines the beloved flavors of Oreo cookies and chocolate cake into a simple yet indulgent treat. With its creamy layers and delightful crunch, it’s sure to please any crowd.
Why You’ll Love This Recipe
- Quick Preparation: With just 10 minutes of prep time, you can get this delicious dessert into the oven in no time.
- Minimal Ingredients: Using only five ingredients makes it a budget-friendly option that doesn’t skimp on flavor.
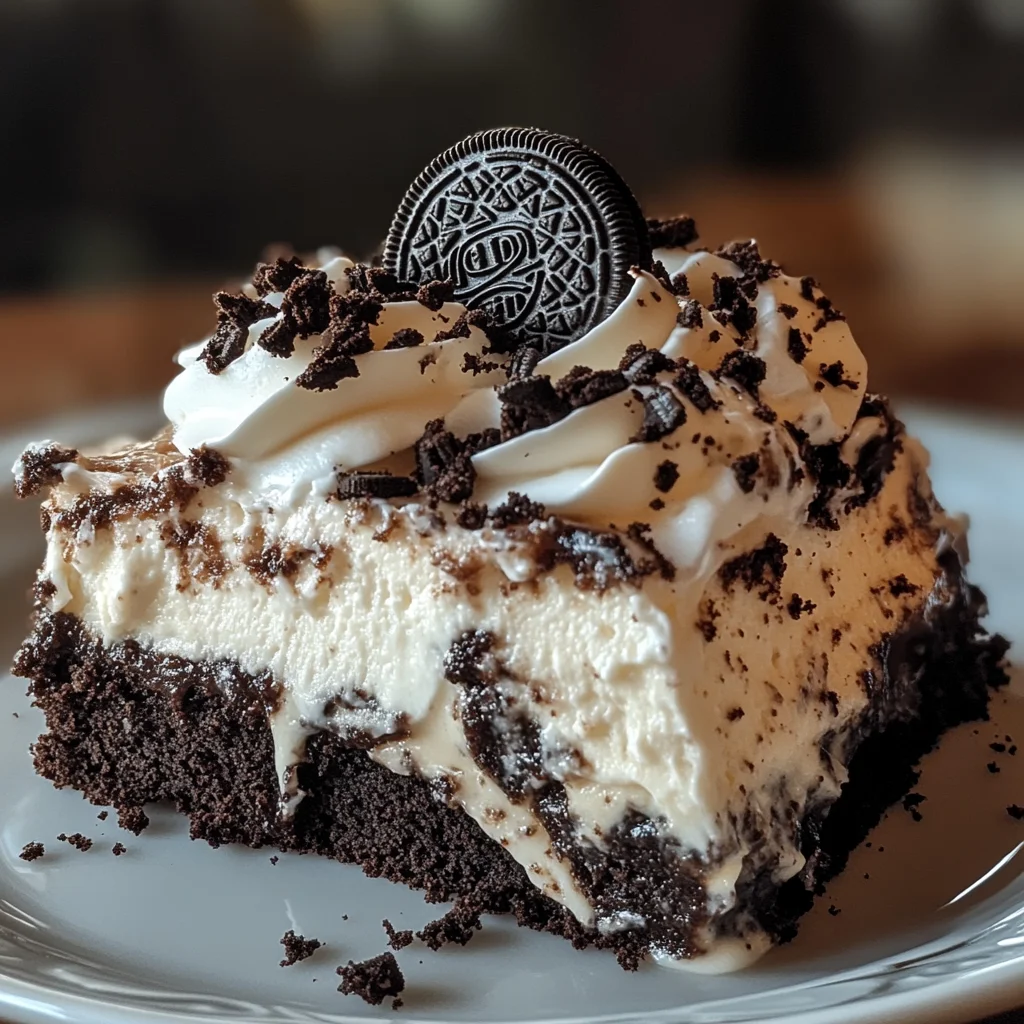
- Decadent Layers: The combination of crushed Oreos, sweetened condensed milk, and whipped topping creates a rich and creamy texture.
- Versatile Serving Options: Serve it warm with extra whipped topping or vanilla ice cream for an elevated experience.
- Kid-Friendly Fun: Kids can help crush cookies and layer ingredients, making it a fun activity for the whole family.

Tools and Preparation
To prepare this delightful Oreo Dump Cake, you’ll need some essential kitchen tools. Having these on hand will make your baking experience smooth and enjoyable.
Essential Tools and Equipment
- 9×13-inch baking dish
- Mixing spoon
- Measuring cups
- Knife
- Oven mitts
Importance of Each Tool
- 9×13-inch baking dish: This size is perfect for even cooking and easy serving of your dump cake.
- Mixing spoon: A sturdy spoon will help you layer your ingredients without making a mess.
- Measuring cups: Accurate measurements ensure your Oreo Dump Cake turns out just right every time.
Ingredients
This Oreo Dump Cake is a simple yet irresistible dessert that combines the classic flavors of Oreo cookies and chocolate cake. With minimal effort and just a few ingredients, you can create a deliciously sweet, creamy, and indulgent treat that will be a hit at any gathering.
For the Cake Base
- 25 Oreo cookies
For the Creamy Layers
- 14 oz can Sweetened Condensed Milk
- 8 oz Whipped Topping (Cool Whip), not frozen
For the Cake Topper
- 15¼ oz Chocolate cake mix
- ½ cup Sweet Salted Butter (sliced)
How to Make Oreo Dump Cake Recipe
Step 1: Preheat the Oven
Preheat your oven to 350°F (175°C) to ensure it’s hot enough for baking.
Step 2: Prepare the Baking Dish
In a 9×13-inch baking dish, crush the Oreo cookies. Spread them evenly across the bottom of the dish.
Step 3: Add Sweetened Condensed Milk
Pour the sweetened condensed milk evenly over the crushed Oreos. This step adds sweetness and moisture.
Step 4: Layer with Whipped Topping
Dollop the whipped topping (Cool Whip) over the condensed milk layer. Use a spatula to spread it out gently without mixing.
Step 5: Add Chocolate Cake Mix
Sprinkle the chocolate cake mix evenly on top of the whipped topping. Avoid mixing; let each layer remain distinct for texture.
Step 6: Top with Butter Slices
Slice the butter into thin pieces. Place these slices evenly on top of the cake mix to ensure even melting during baking.
Step 7: Bake Your Cake
Bake in the preheated oven for 35-40 minutes. Watch for a golden brown top as an indicator that it’s ready.
Step 8: Serve Warm
Allow your dump cake to cool slightly before serving. Enjoy it warm with extra whipped topping or a scoop of vanilla ice cream if desired.
How to Serve Oreo Dump Cake Recipe
Serving your Oreo Dump Cake is just as delightful as making it. This dessert can be enjoyed in various ways that enhance its rich flavors and textures. Here are some creative serving suggestions to elevate your experience.
Serve with Extra Whipped Topping
- Add a generous dollop of whipped topping on each slice for an extra creamy texture.
Pair with Vanilla Ice Cream
- A scoop of vanilla ice cream complements the chocolate flavors and adds a refreshing contrast.
Drizzle with Chocolate Sauce
- A drizzle of chocolate sauce over the top can intensify the dessert’s sweetness and presentation.
Garnish with Crushed Oreos
- Sprinkle crushed Oreos on top for added crunch and a visual appeal that highlights the main ingredient.
Add Fresh Berries
- Top each serving with fresh strawberries or raspberries for a burst of freshness and color.
How to Perfect Oreo Dump Cake Recipe
Perfecting your Oreo Dump Cake can take this delicious treat to the next level. Here are some tips to ensure you achieve the best results.
-
Use fresh ingredients: Make sure your ingredients, especially the whipped topping, are fresh for optimal taste.
-
Don’t overmix layers: Keep the layers distinct; mixing them can affect the texture and flavor profile.
-
Check baking time: Ovens vary, so keep an eye on your cake after 30 minutes to avoid overcooking.
-
Let it cool slightly: Allowing it to cool before serving helps set the layers and makes it easier to cut.
Best Side Dishes for Oreo Dump Cake Recipe
Pairing side dishes with your Oreo Dump Cake can enhance your dessert experience. Here are some options that work well together:
-
Fruit Salad
A light and refreshing fruit salad balances the richness of the dump cake. -
Chocolate Chip Cookies
Additional cookies offer a fun texture contrast and deepen the chocolate flavor. -
Milkshakes
Creamy milkshakes, especially chocolate or vanilla, make a delightful beverage pairing. -
Pecan Pie
The nutty flavor of pecan pie complements the sweetness of the dump cake beautifully. -
Coffee
A warm cup of coffee provides a nice counterbalance to the sweetness of dessert. -
Cheesecake Bites
Mini cheesecakes add another layer of indulgence without being overly filling.
Common Mistakes to Avoid
Making an Oreo Dump Cake can be simple, but there are common pitfalls to avoid for the best results.
- Using Frozen Whipped Topping: Ensure you use non-frozen whipped topping for a smoother texture. Frozen versions can become icy and alter the dessert’s creaminess.
- Not Preheating the Oven: Always preheat your oven before baking. This ensures even cooking and that the top achieves that golden brown color.
- Mixing the Layers: Do not mix the layers after adding them to the dish. Each layer should stay distinct for the best flavor and presentation.
- Skipping the Cooling Time: Allowing the cake to cool slightly ensures it sets properly. Serving it too hot can make it messy and difficult to slice.
- Using Incorrect Baking Dish Size: Use a 9×13-inch baking dish as specified. A different size can affect cooking times and how well the cake bakes.
Storage & Reheating Instructions
Refrigerator Storage
- Store leftover Oreo Dump Cake in an airtight container.
- It can be kept in the refrigerator for up to 3 days.
Freezing Oreo Dump Cake Recipe
- Wrap individual pieces tightly in plastic wrap or foil.
- Freeze for up to 2 months for best quality.
Reheating Oreo Dump Cake Recipe
- Oven: Preheat to 350°F (175°C) and heat for about 10-15 minutes until warmed through.
- Microwave: Heat slices on medium power for 30-60 seconds, checking frequently to avoid overheating.
- Stovetop: Warm in a skillet over low heat, covering with a lid to retain moisture.
Frequently Asked Questions
What is an Oreo Dump Cake Recipe?
An Oreo Dump Cake Recipe combines layers of crushed Oreos, sweetened condensed milk, whipped topping, and chocolate cake mix. It’s an easy dessert that’s rich and satisfying.
Can I customize my Oreo Dump Cake Recipe?
Yes! You can add ingredients like nuts, chocolate chips, or even a drizzle of caramel sauce on top before serving for extra flavor.
How long does an Oreo Dump Cake last?
Your Oreo Dump Cake will last about 3 days in the refrigerator or up to 2 months if frozen properly.
What should I serve with my Oreo Dump Cake Recipe?
This delicious dessert pairs perfectly with whipped topping or vanilla ice cream for added richness.
Is it possible to make this recipe gluten-free?
Absolutely! Simply use gluten-free chocolate cake mix and ensure all other ingredients are gluten-free.
Final Thoughts
This Oreo Dump Cake is not only easy to make but also incredibly versatile. Its delightful combination of flavors makes it suitable for any occasion. Feel free to get creative by adding your favorite toppings or mix-ins. Give this recipe a try; it’s bound to become a family favorite!
Oreo Dump Cake Recipe

Indulge in the rich, creamy flavors of this Oreo Dump Cake. Perfect for any occasion, this easy-to-make dessert combines layers of crushed Oreo cookies, sweetened condensed milk, and fluffy whipped topping, all topped with a decadent chocolate cake mix and butter. With just five simple ingredients and minimal prep time, you can create an impressive treat that delights both kids and adults alike. Serve it warm with a scoop of vanilla ice cream or fresh berries for an even more delightful experience. This recipe guarantees a crowd-pleasing dessert that will leave everyone asking for seconds!
- Prep Time: 10 minutes
- Cook Time: 40 minutes
- Total Time: 50 minutes
- Yield: Serves approximately 12 people 1x
- Category: Dessert
- Method: Baking
- Cuisine: American
Ingredients
- 25 Oreo cookies
- 14 oz can sweetened condensed milk
- 8 oz whipped topping (Cool Whip), thawed
- 15¼ oz chocolate cake mix
- ½ cup sweet salted butter, sliced
Instructions
- Preheat oven to 350°F (175°C).
- Crush the Oreo cookies and spread them evenly in a greased 9×13-inch baking dish.
- Pour the sweetened condensed milk over the crushed Oreos.
- Dollop the whipped topping on top of the condensed milk and spread gently.
- Sprinkle the chocolate cake mix evenly over the whipped topping.
- Place slices of butter on top of the cake mix.
- Bake for 35-40 minutes until golden brown on top.
- Let cool slightly before serving warm with extra whipped topping or ice cream.
Nutrition
- Serving Size: 1 serving
- Calories: 290
- Sugar: 23g
- Sodium: 240mg
- Fat: 15g
- Saturated Fat: 8g
- Unsaturated Fat: 5g
- Trans Fat: 0g
- Carbohydrates: 36g
- Fiber: 1g
- Protein: 3g
- Cholesterol: 30mg